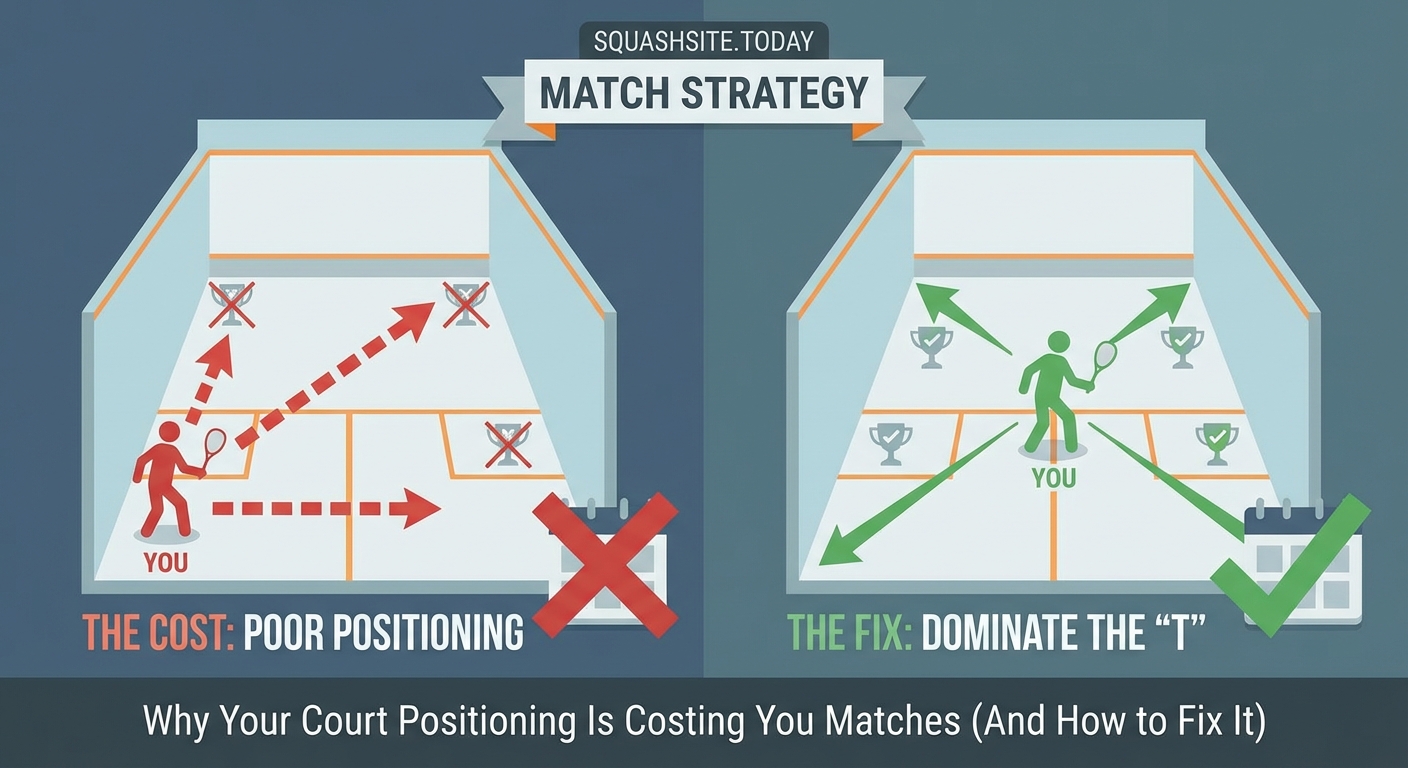
Why Your Court Positioning Is Costing You Matches (And How to Fix It)
You’re hitting clean groundstrokes. Your serve looks solid. Yet you’re still losing to players who seem slower, weaker, and less polished than you.
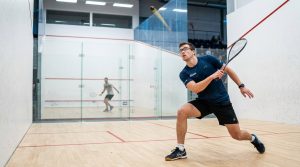
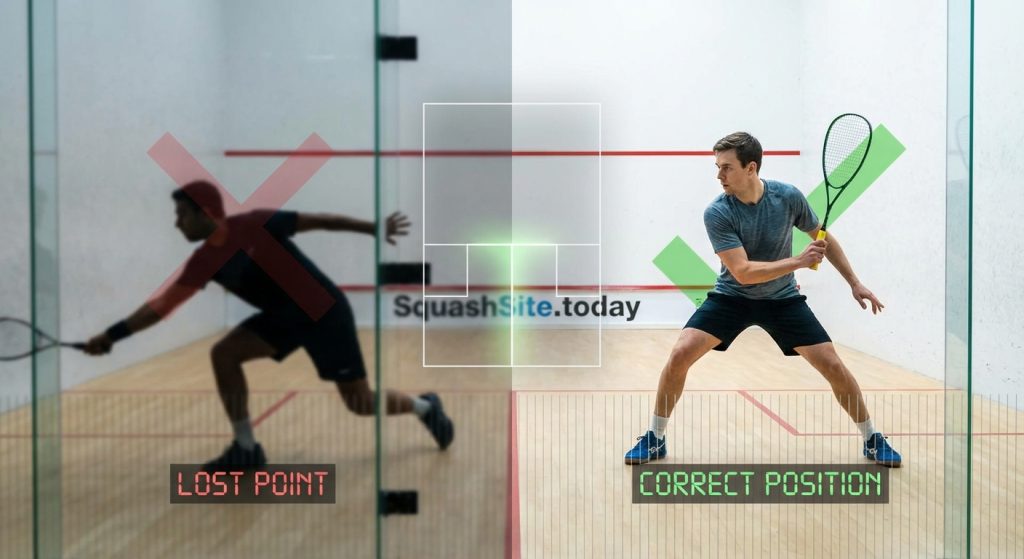
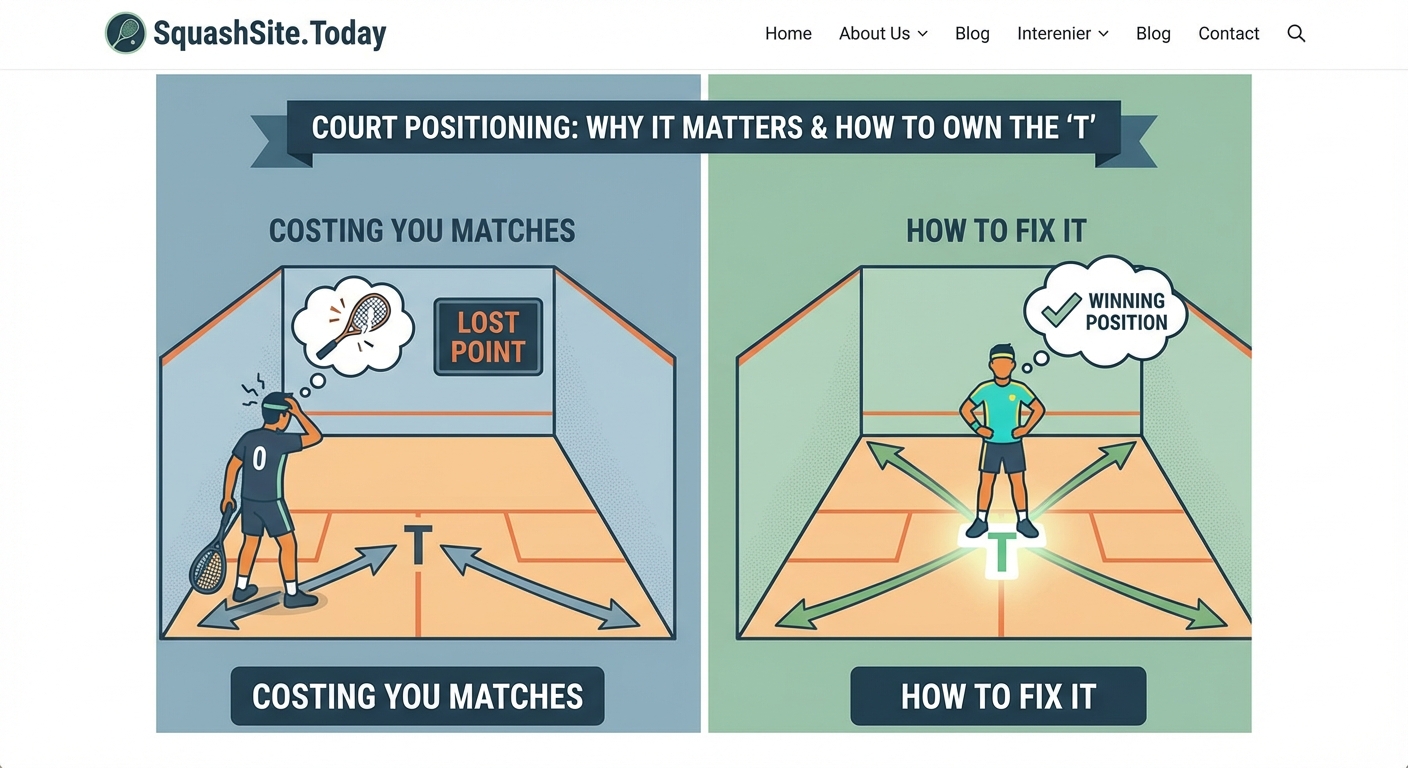
The problem isn’t your technique. It’s where you’re standing when the ball arrives.
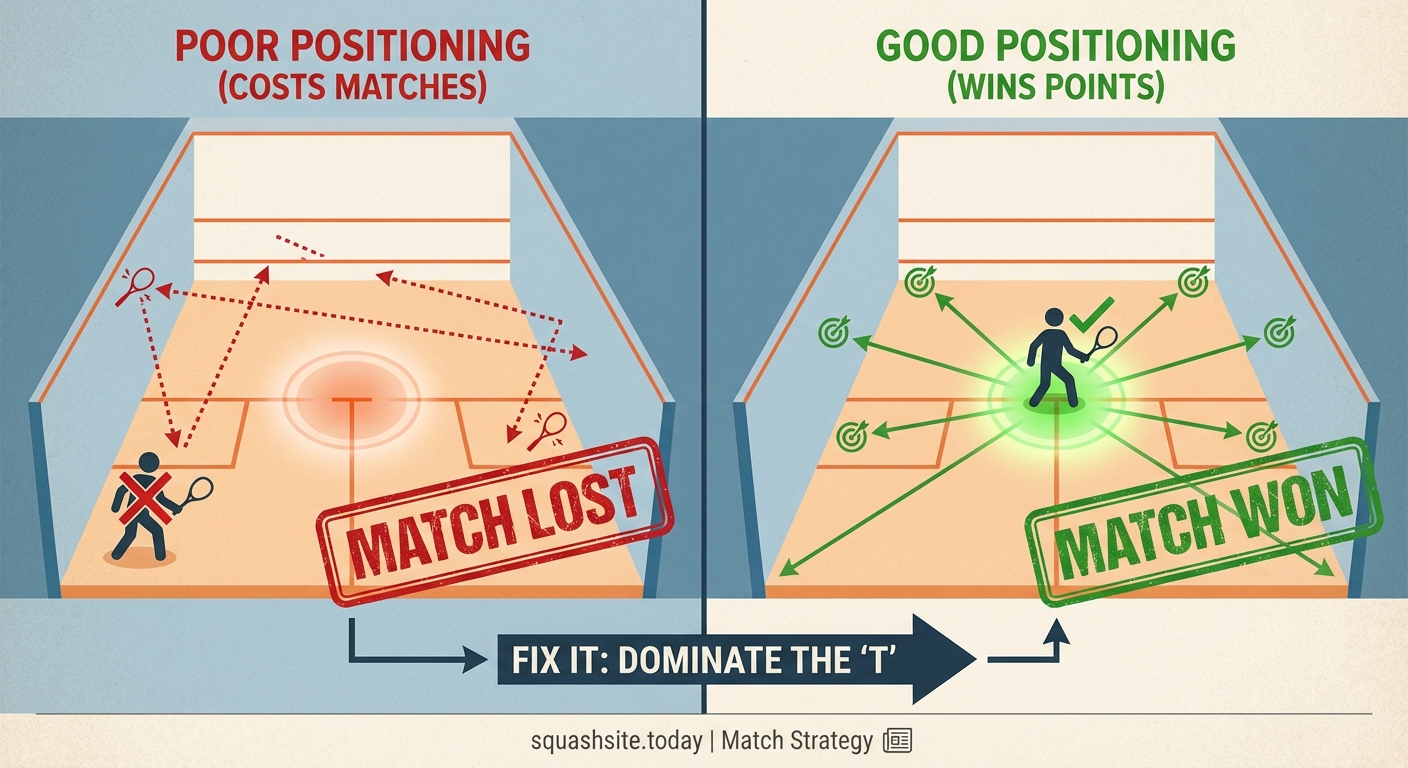
Poor court positioning forces you to scramble, rush shots, and leave gaping holes for your opponent to exploit. Good positioning makes everything easier. You reach more balls. You have more time. You control the rally without sprinting yourself into exhaustion.
Court positioning determines whether you’re reactive or proactive. Master the split step, recover to the correct position after every shot, and understand baseline geometry. These three fundamentals will reduce court coverage by 30% whilst increasing shot quality. Most recreational players stand too close to the baseline and fail to bisect the angle of return, leaving them vulnerable to simple cross-court shots.
Understanding the Geometry of Tennis Positioning
Tennis courts don’t change size. The angles your opponent can hit remain predictable based on where they strike the ball.
Yet most recreational players ignore this geometry entirely.
When your opponent hits from the deuce corner, they can only send the ball within a specific cone of angles. Your job is to position yourself at the apex of that cone, not at some arbitrary spot you find comfortable.
This is called bisecting the angle of return.
Stand on an imaginary line that splits the widest possible angles your opponent can hit. If they’re hitting from wide on their forehand side, you should be slightly left of centre. If they’re hitting from the middle of the court, you should be dead centre.
The mistake? Most players return to the middle of the baseline regardless of where their opponent is hitting from. This leaves one side of the court wide open.
“Court positioning isn’t about athleticism. It’s about geometry and anticipation. The best movers in tennis aren’t necessarily the fastest. They’re the ones who arrive early because they knew where to stand.” – Top-level tennis coach
The Recovery Position That Wins More Points
After you hit the ball, where do you go?
Most recreational players stay exactly where they finished their shot. That’s a disaster.
Every shot you hit changes the geometry of the court. Your opponent now has a new set of angles. You need to reposition immediately.
Here’s the step-by-step recovery process:
- Complete your shot with balance. Don’t fall off the court or stumble backwards.
- Read your opponent’s position. Are they stretched wide? Are they set up in the middle?
- Move to bisect the new angle. Shuffle sideways or backwards to cover the most likely returns.
- Execute a split step. Time it so you land just as your opponent makes contact with the ball.
- React and move. Now you’re loaded and ready to explode in any direction.
This process happens in under two seconds. But it’s the difference between being caught flat-footed and being ready to attack.
The split step deserves special attention. It’s a small hop that loads your legs like springs. You should land on the balls of your feet just before your opponent strikes the ball. This allows you to push off explosively in any direction.
Without the split step, you’re trying to accelerate from a static position. That costs you half a second. In tennis, that’s an eternity.
Common Positioning Mistakes and How to Fix Them
Let’s look at the errors that cost recreational players the most points.
| Mistake | Why It Hurts | The Fix |
|---|---|---|
| Standing too close to the baseline | Gives you no time to react to deep shots | Position 1-2 metres behind the baseline on groundstrokes |
| Failing to move after hitting | Leaves you out of position for the return | Always recover towards the centre after every shot |
| Not adjusting for opponent’s position | Opens up easy angles | Bisect the angle based on where they’re hitting from |
| Standing flat-footed between shots | Delays your first step | Use a split step as opponent makes contact |
| Hugging the centre line | Leaves both corners equally vulnerable | Shift laterally based on where you hit the ball |
The baseline distance issue is particularly common. Players think standing on the baseline gives them an aggressive position. In reality, it robs you of reaction time.
Professional players often stand three to four metres behind the baseline during baseline rallies. This gives them time to read the ball, adjust their feet, and set up properly.
You’re not trying to take the ball early unless you’re deliberately attacking. You’re trying to take it at the optimal height and distance from your body.
Standing further back also helps with high-bouncing balls. You can let them drop into your strike zone rather than taking them at shoulder height whilst backpedalling.
Baseline Positioning for Different Shot Types
Your position should change based on what you’re hitting and what you expect back.
After a deep cross-court shot:
Move slightly towards the side you hit to. If you hit a forehand cross-court, shade towards your forehand side. Your opponent’s best option is to go down the line, and you want to cover that angle.
After a short ball you attacked:
Move inside the baseline. You’ve put your opponent on the defensive. They’re likely to hit a weaker reply. Position yourself to take advantage by moving forward and taking time away from them.
After a defensive slice:
Stay back. You’ve given your opponent time to set up. They can hit with more pace and spin. Give yourself extra room to handle the increased difficulty.
When facing a big server:
Stand further back on second serves than first serves. The extra spin on second serves means higher bounces and more time. Use that time by giving yourself extra space.
These adjustments seem small. But they compound over the course of a match.
Net Positioning and Transition Geometry
Moving forward to the net requires different positioning logic.
The closer you get to the net, the more court you need to cover laterally. But you have less depth to worry about.
When you’re at the service line (the worst position in tennis, by the way), you’re vulnerable to both passing shots and lobs. Get through this zone as fast as possible.
Once you’re inside the service line, your positioning should be aggressive. Stand in the middle of the angle of possible returns. If you’ve hit a good approach shot to their backhand corner, position yourself slightly towards that side. They’re most likely to try a backhand pass down the line.
The key to good net positioning is staying light on your feet. Use small adjustment steps to track the ball. Don’t plant yourself and hope.
Many recreational players approach the net and then stand still. That’s when they get passed. Keep moving with small steps until your opponent commits to their shot.
Doubles Positioning Principles

Doubles positioning follows similar geometry principles but with added complexity because you have a partner.
The fundamental rule is this: you and your partner should always position yourselves to bisect the angles as a team.
If your partner is pulled wide to the deuce side, you need to shift towards the centre. You’re now responsible for covering the middle of the court. Your partner covers the line.
This is called “moving as a unit.” When one player shifts, both players shift.
Common doubles positioning errors include:
- Both players standing in the middle (leaves both alleys open)
- Staying glued to your “side” regardless of ball position (creates a huge gap in the middle)
- The net player standing too close to the net (vulnerable to lobs)
- The baseline player standing too far back (gives opponents easy angles at the net player’s feet)
The strongest doubles position is both players at the net. But getting there requires good transition positioning. The player at the net should poach aggressively to cover the middle. The baseline player should look for opportunities to join their partner at the net after a strong shot.
Drills to Improve Your Court Positioning
Theory means nothing without practice. Here are specific drills to build better positioning habits.
Cone drill:
Place cones at the optimal recovery positions for different shot patterns. Have a partner feed balls to various spots. After each shot, you must touch the correct cone before the next feed. This builds muscle memory for proper recovery positioning.
Shadow positioning:
Watch professional matches and pause after each shot. Predict where the player should move next. Then play the video and see if you were correct. This builds your understanding of positioning geometry without physical fatigue.
Restricted court positioning:
Play points where you must stay within a marked zone (one metre behind the baseline, for example). This forces you to focus on positioning rather than scrambling. You’ll lose points at first, but you’ll develop better habits.
Split step timing drill:
Have a partner feed balls at random intervals. Your only job is to execute a perfect split step just as they make contact. Don’t worry about hitting the ball back. Just master the timing of the split step first.
These drills work because they isolate specific positioning elements. You can’t improve everything at once. Pick one weakness and hammer it for two weeks.
Reading Your Opponent’s Position to Improve Yours
Your positioning isn’t just about geometry. It’s also about reading your opponent.
If your opponent is stretched wide and off balance, they have fewer options. You can cheat slightly towards their most likely shot (usually cross-court when they’re in trouble).
If your opponent is set up perfectly in the middle of the court, they can hit anywhere. You need to be more conservative with your positioning and rely on your split step to react.
Watch their body language:
- Shoulders opening up early usually means cross-court
- Staying closed often indicates down the line
- Looking at one side of the court might be a bluff (or genuine)
- Rushing their preparation limits their options
The best players in the world are constantly reading these cues and making micro-adjustments to their positioning. You won’t master this overnight. But you can start paying attention today.
Notice patterns in your regular opponents. Does your hitting partner always go cross-court when they’re running wide? Does your league opponent love the down-the-line backhand when you hit to their forehand?
Use this information to adjust your positioning by half a metre. That’s often enough to turn a winner into an easy get.
Positioning Adjustments for Different Court Surfaces
Hard courts, clay courts, and grass courts all play differently. Your positioning needs to adapt.
On clay:
Stand further back. The ball bounces higher and slower. You have more time but need more space to handle the increased spin. Clay also allows you to slide into shots, which changes your recovery patterns. You can position more aggressively knowing you can slide to cover extra ground.
On grass:
Move forward. The ball stays low and skids through. Standing too far back means you’re hitting balls at your ankles. Position yourself to take balls on the rise when possible. Be ready for bad bounces that require quick adjustments.
On hard courts:
Use the standard positioning guidelines. Hard courts are the most predictable surface. The bounce is consistent. Your positioning can be more precise because you face fewer variables.
Indoor courts typically play faster than outdoor hard courts. Adjust your baseline position accordingly.
The Mental Side of Court Positioning
Good positioning requires discipline.
Your instinct will be to chase every ball. To run forward when you should stay back. To crowd the baseline when you should give yourself space.
These instincts feel productive. They feel like you’re working hard and competing.
But they’re costing you matches.
Good positioning often feels passive. You’re standing still whilst your opponent runs. You’re waiting patiently rather than charging forward.
Trust the geometry. Trust the process.
The player who positions correctly doesn’t look as busy as the player who scrambles everywhere. But they win more points with less effort.
This is particularly important in longer matches. Proper positioning conserves energy. You’re not sprinting to balls you should have been ready for. You’re not stretching for shots that should have been routine.
How Movement Patterns Connect to Positioning
You can’t separate positioning from movement. They’re two sides of the same coin.
Ghosting routines that actually improve your court movement will help you build the footwork patterns that make good positioning possible. You need to be able to move efficiently from your ready position to the ball and back again.
The best positioning in the world won’t help if you can’t execute the movement to get there.
Focus on these movement fundamentals:
- First step explosiveness (this comes from the split step)
- Lateral shuffle for small adjustments
- Crossover steps for larger distances
- Recovery steps back to position after the shot
Many players have the right positioning ideas but lack the movement skills to execute them. They know where they should be but can’t get there in time.
That’s why footwork fundamentals matter just as much as positioning knowledge. You need both.
Positioning Yourself for Success
Court positioning transforms tennis from a physical battle into a strategic game.
You don’t need to be faster. You need to be smarter about where you stand.
Start with one change. Pick the positioning mistake you make most often and focus on fixing just that one thing for your next five matches. Don’t try to overhaul everything at once.
Maybe it’s standing too close to the baseline. Maybe it’s failing to recover after your shots. Maybe it’s not using a split step.
Fix one thing. Master it. Then move to the next.
Your opponents won’t suddenly become easier to beat. But you’ll find yourself in the right place more often. You’ll have more time. You’ll make fewer errors. You’ll win more points without changing your strokes at all.
That’s the power of proper court positioning. It makes everything else easier.